 English
  Français
 Deutsch
 Español
 Italiano
 Nederlands
 Português
 Русский
 中文 (中国)
 日本語
日本語
Product: DJ Control T10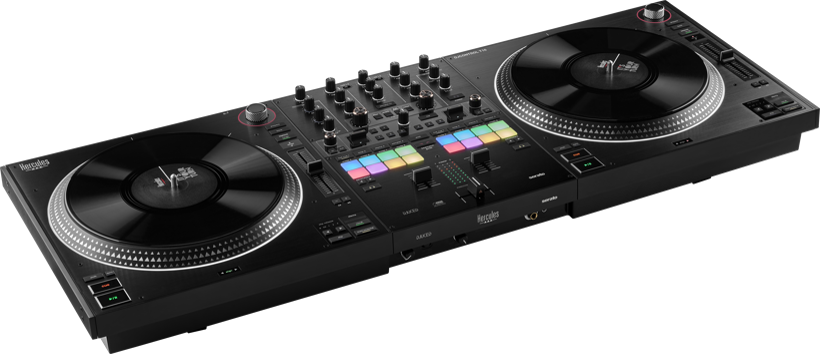
This guide provides step-by-step instructions for calibrating the DJControl T10 faders and induXFader crossfader to ensure optimal accuracy and reliable performance.
Calibration Steps:
Step 0: Preliminary Operations
Disconnect all audio devices: speakers, headphones, and microphone.
Disconnect any USB Type-C cable connected to the rear of the DJControl T10.
Connect the power supply to the rear of the DJControl T10.
Set the power switch to the OFF position.
Step 1: Enable Calibration Mode
On Deck 2, press and hold BACK and RANGE.
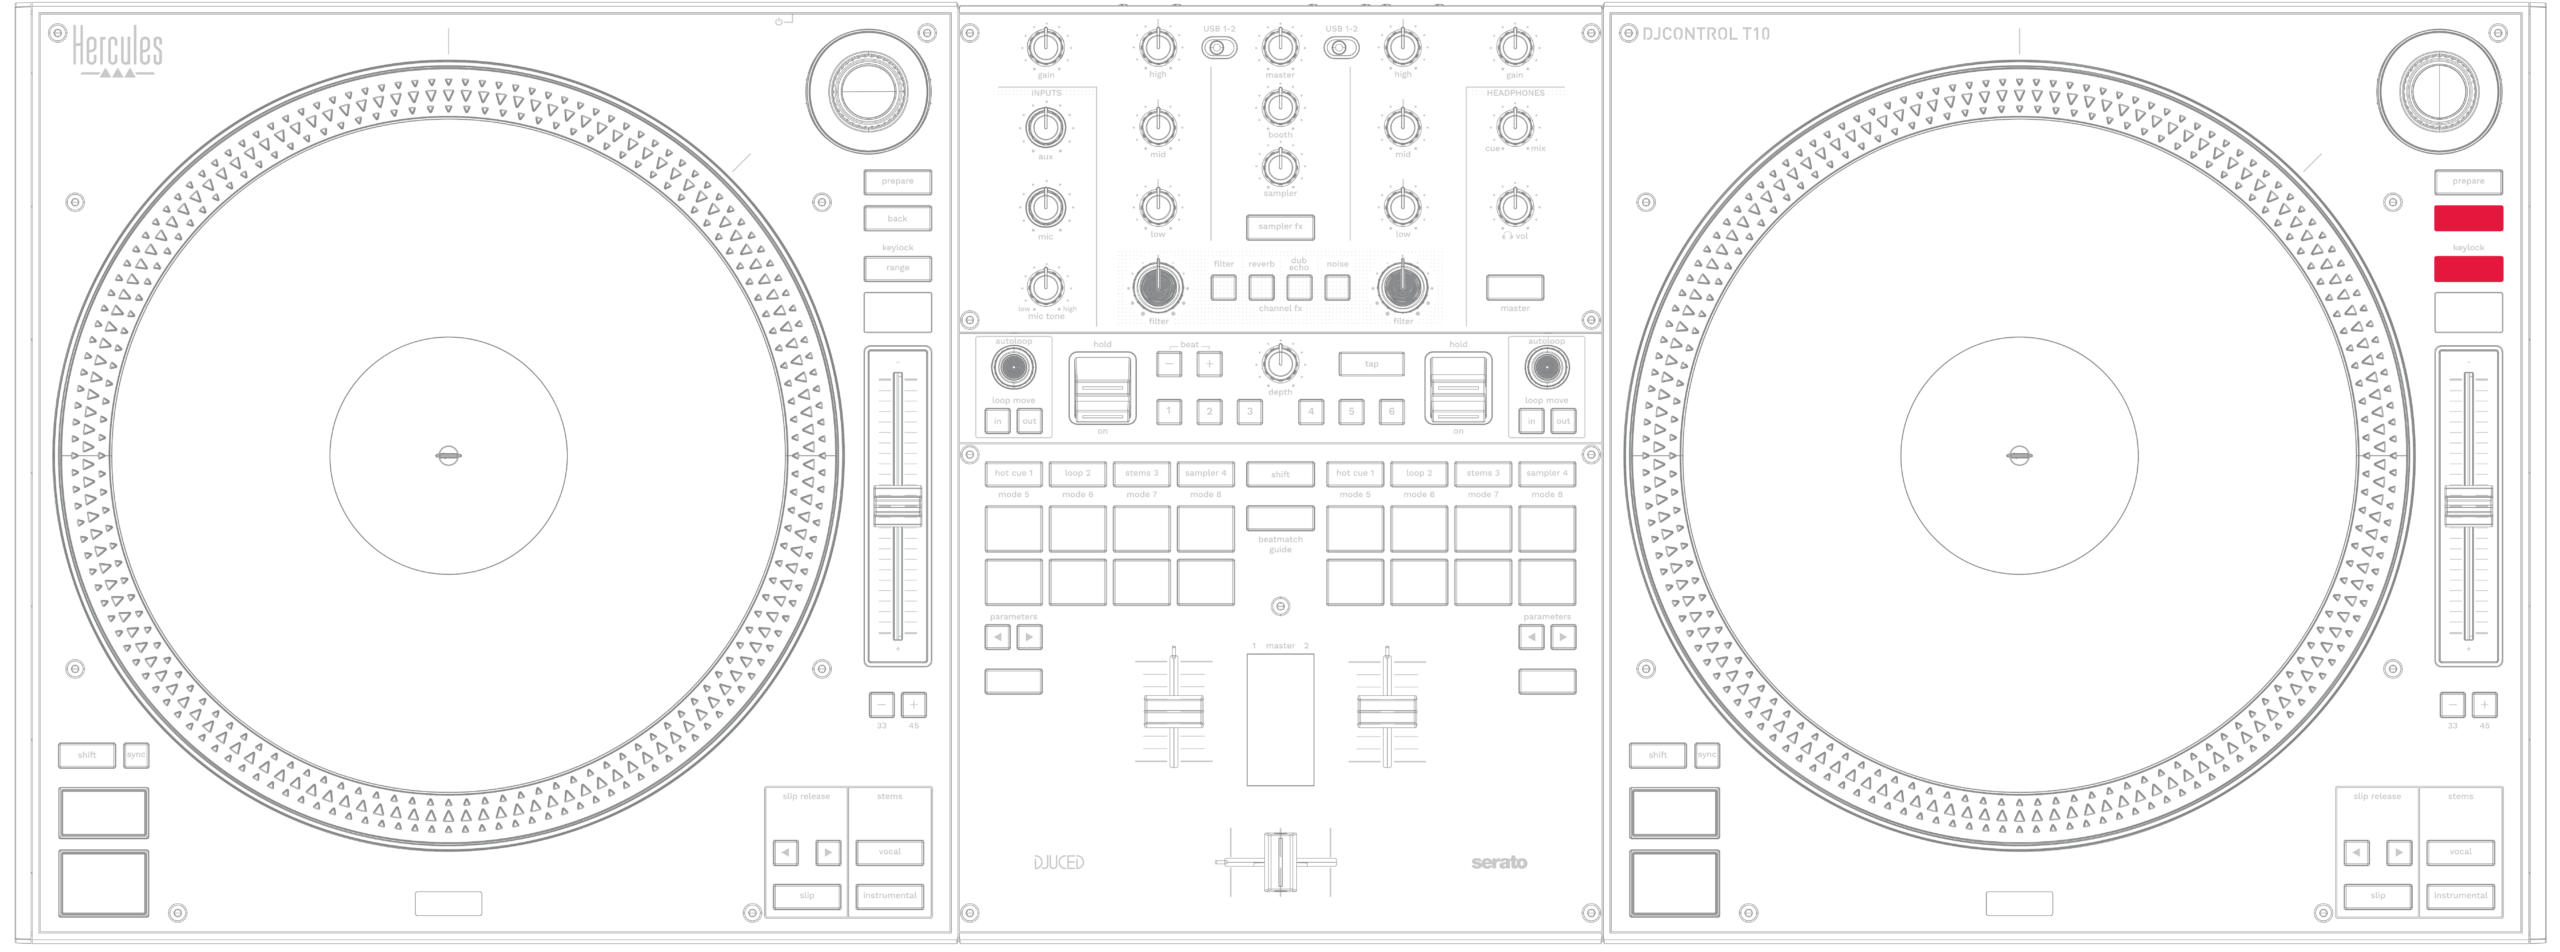
While holding both buttons:
Press the T10 Power button.
Keep holding both buttons for 5 seconds, then release them.
LED indicators:
LEDs 1 and 2 on the FX1 panel light up.
The BeatMatch Guide button flashes.
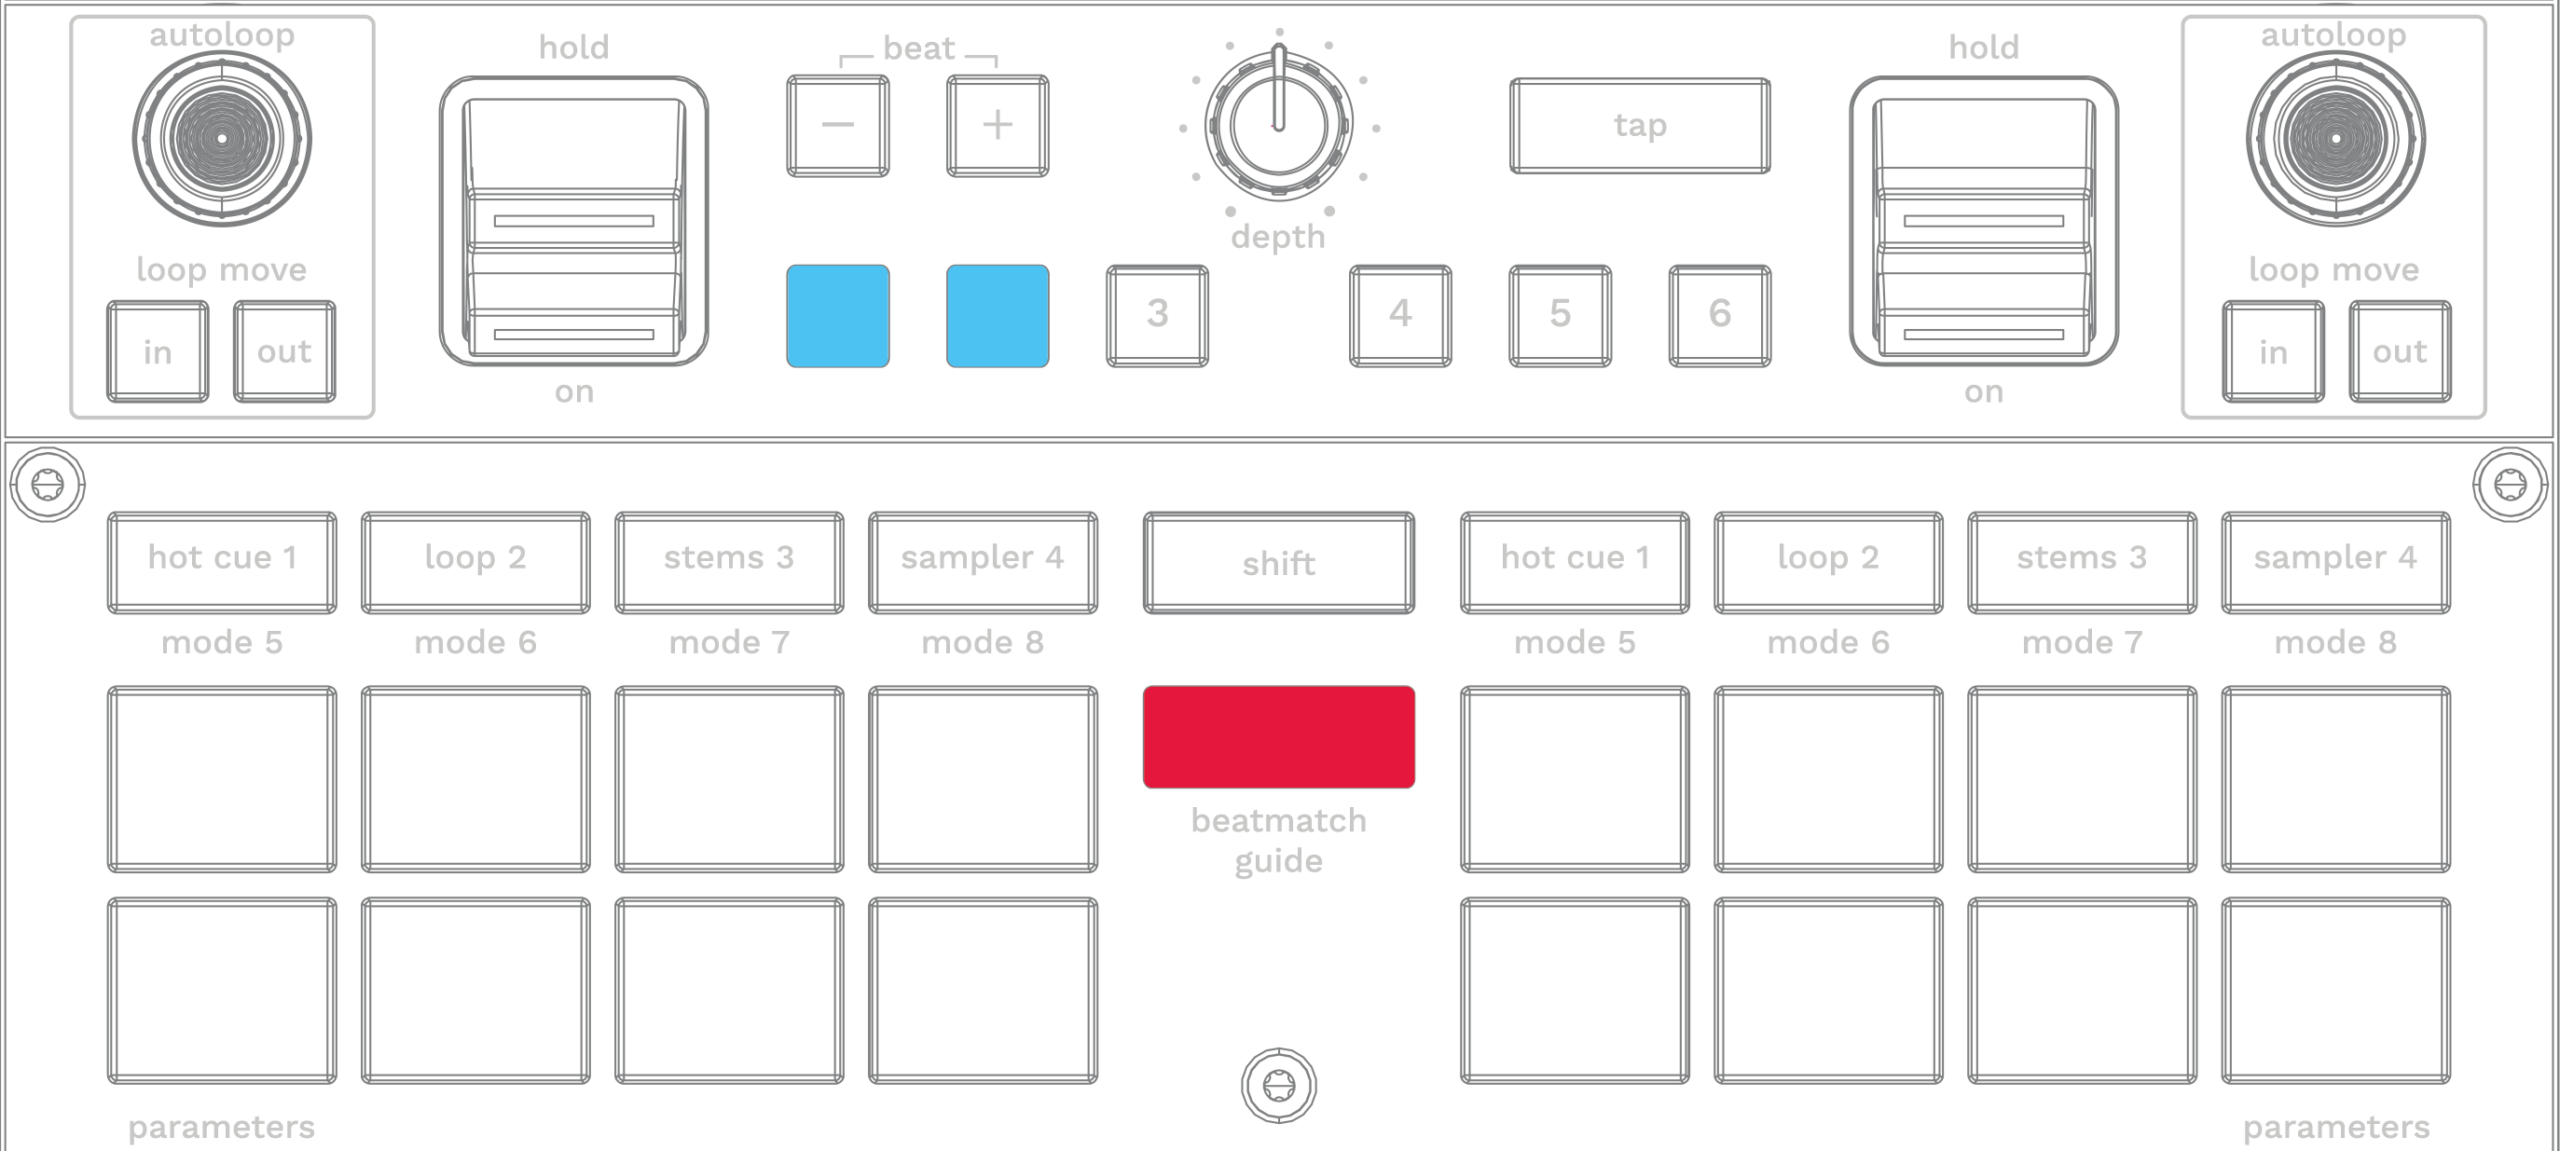
= Calibration mode enabled.
Step 2: Set All Faders to the Center Position
Move both volume faders and the induXFader crossfader to their center position.
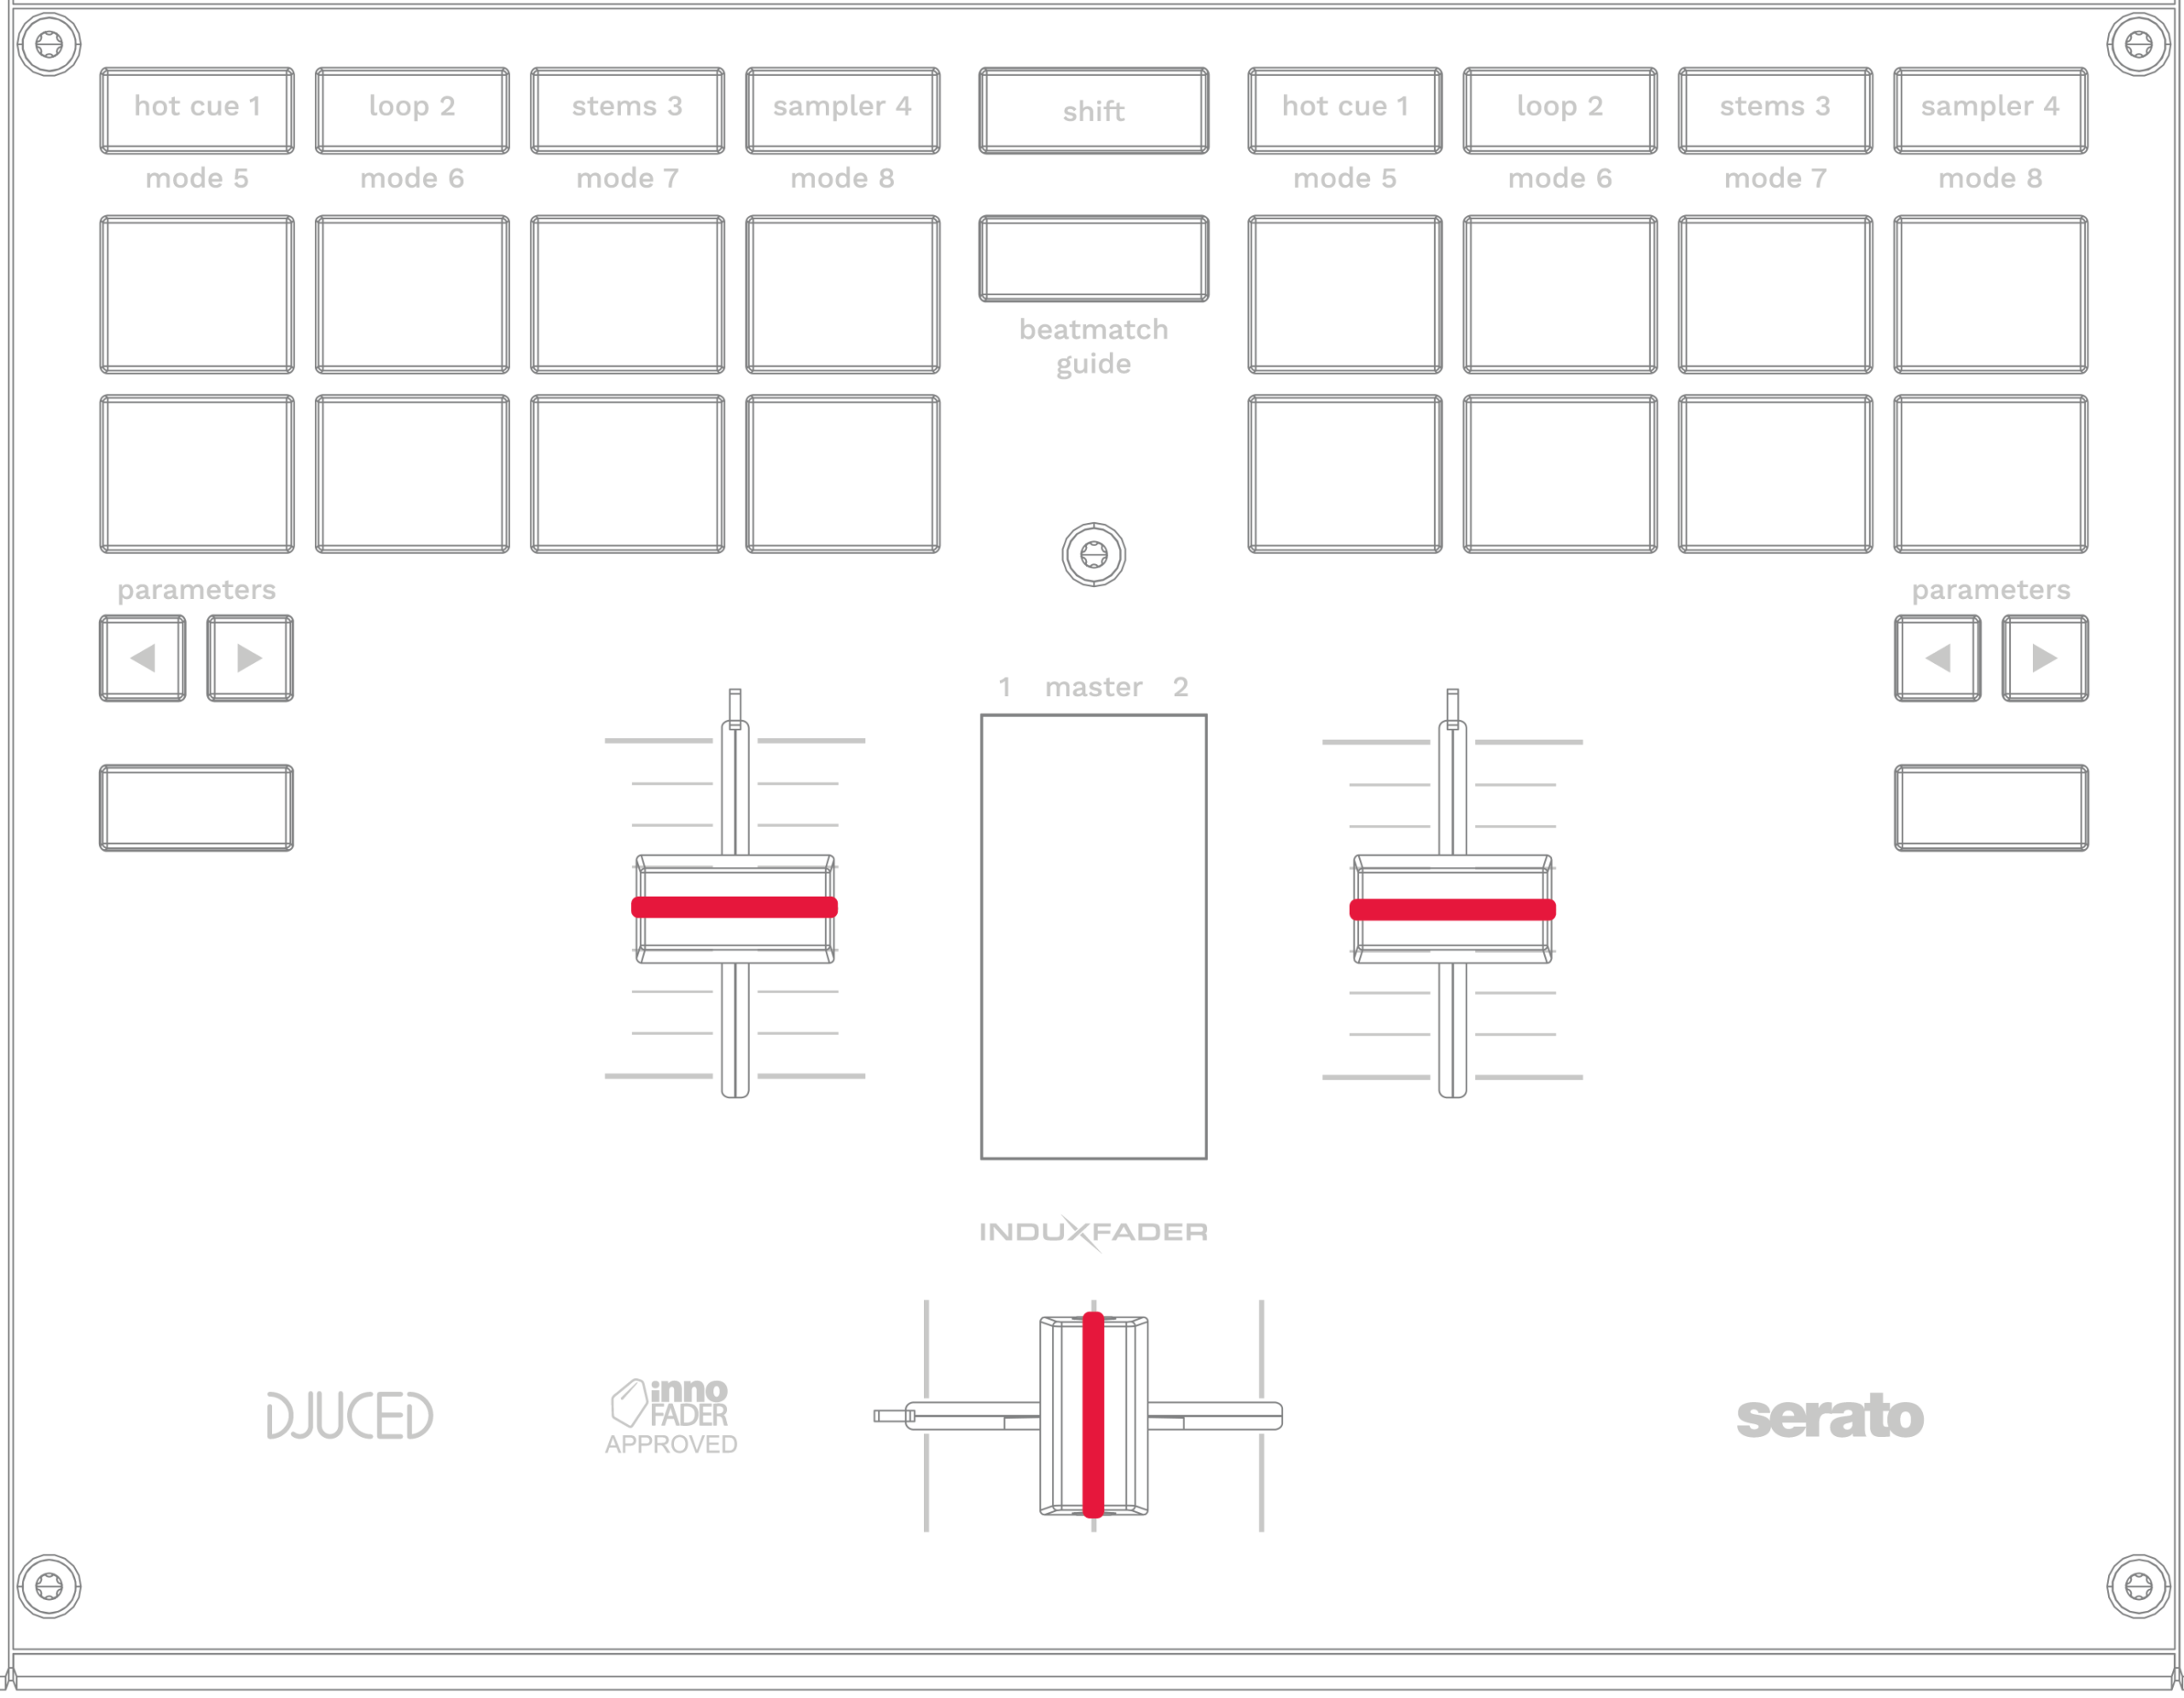
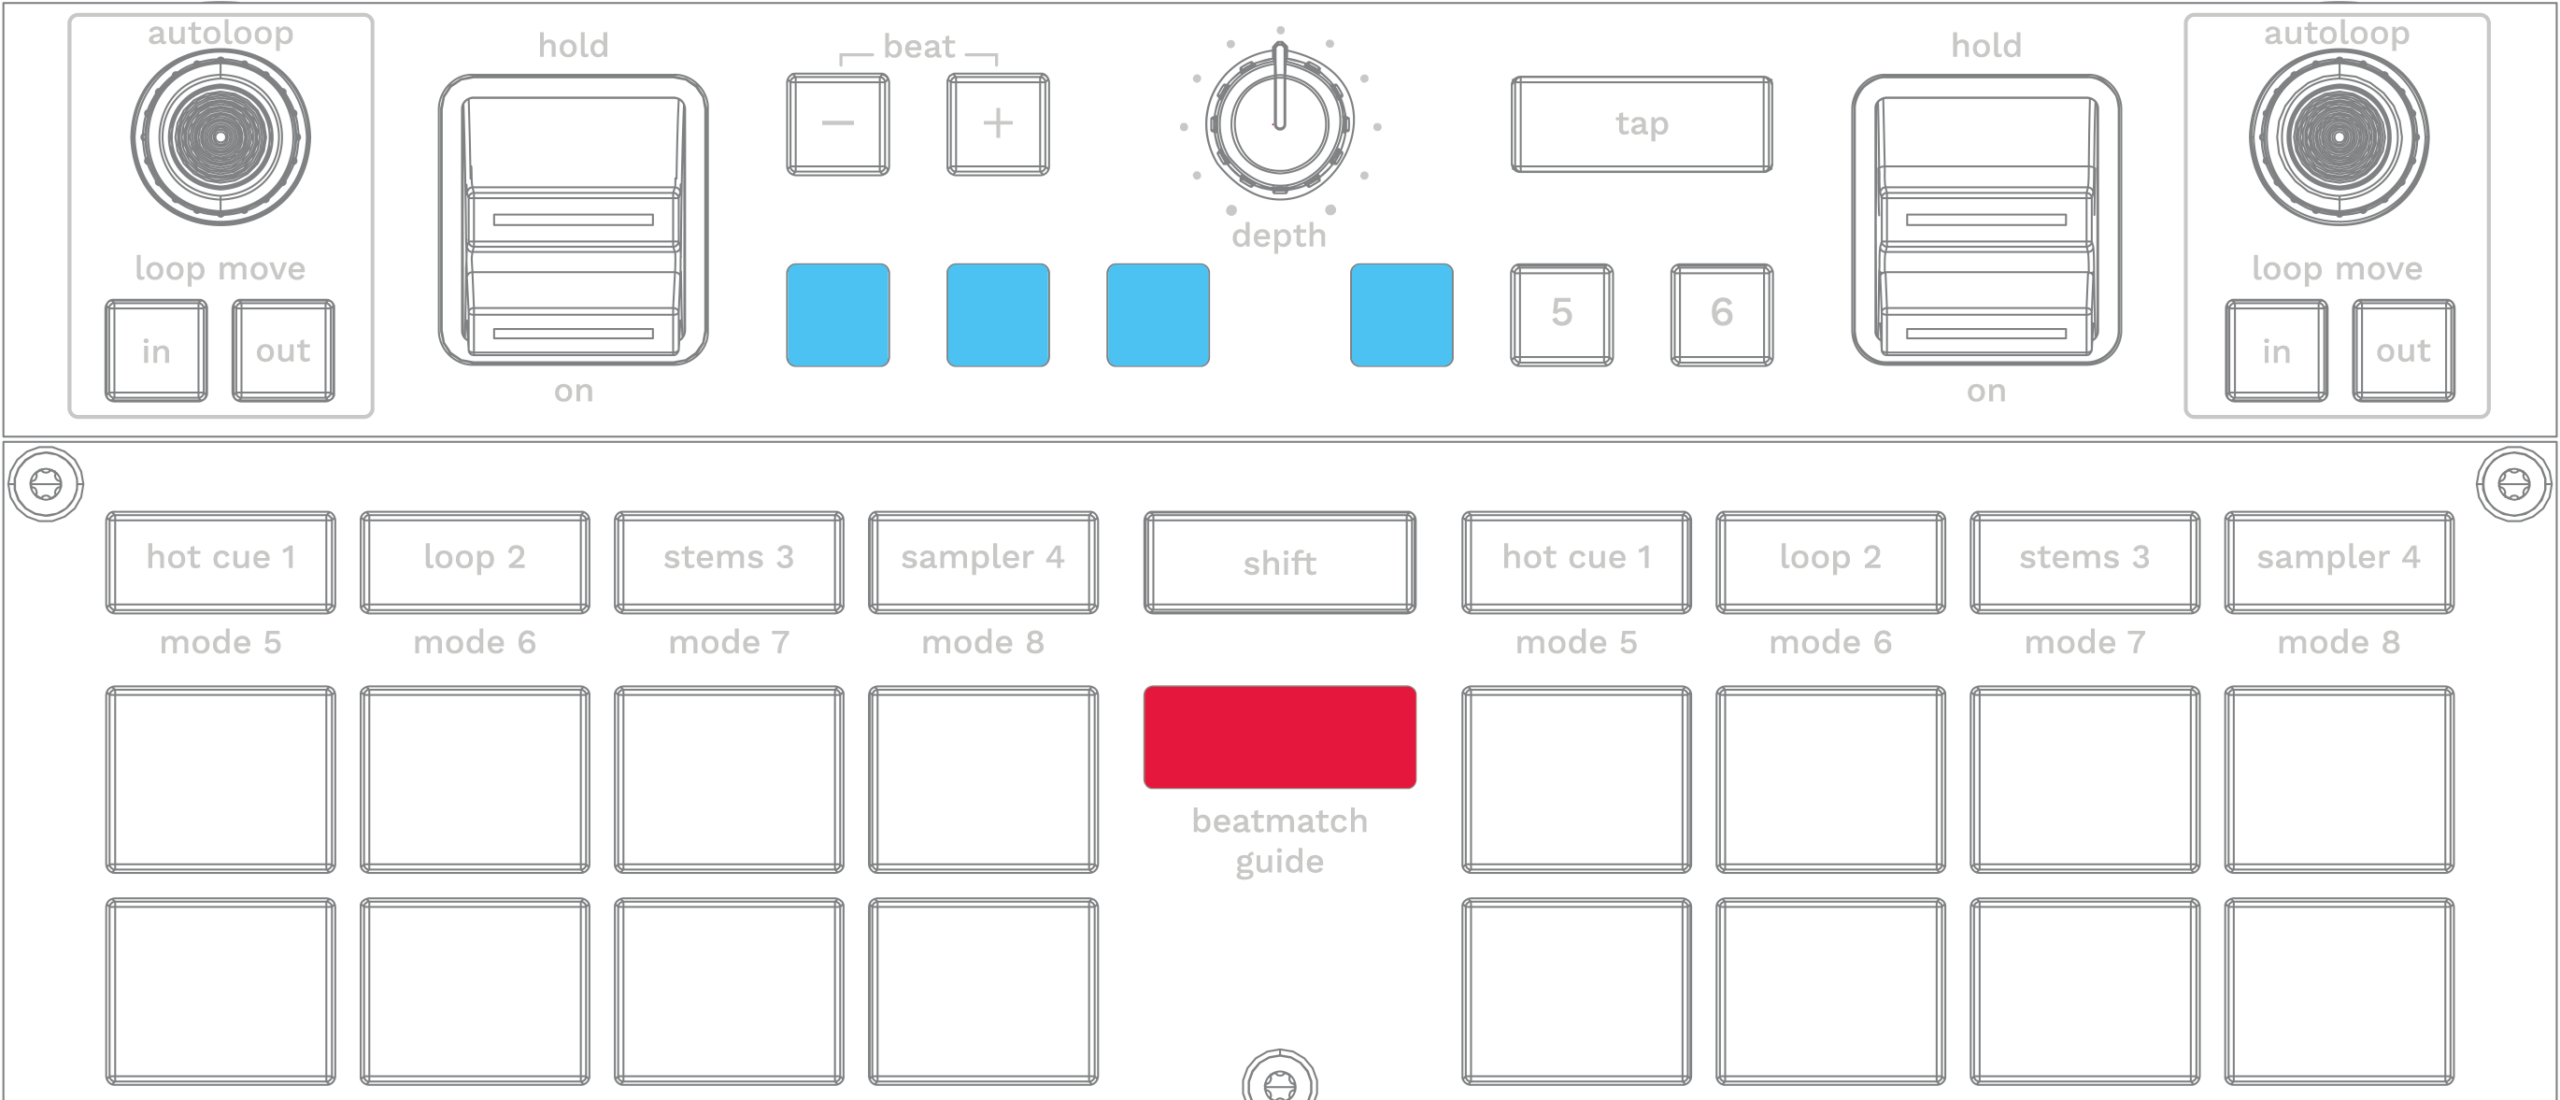
Press the BeatMatch Guide button once.
Expected result: Buttons 1, 2, 3, and 4 on the FX panel light up.
Step 3: Full-Range Calibration
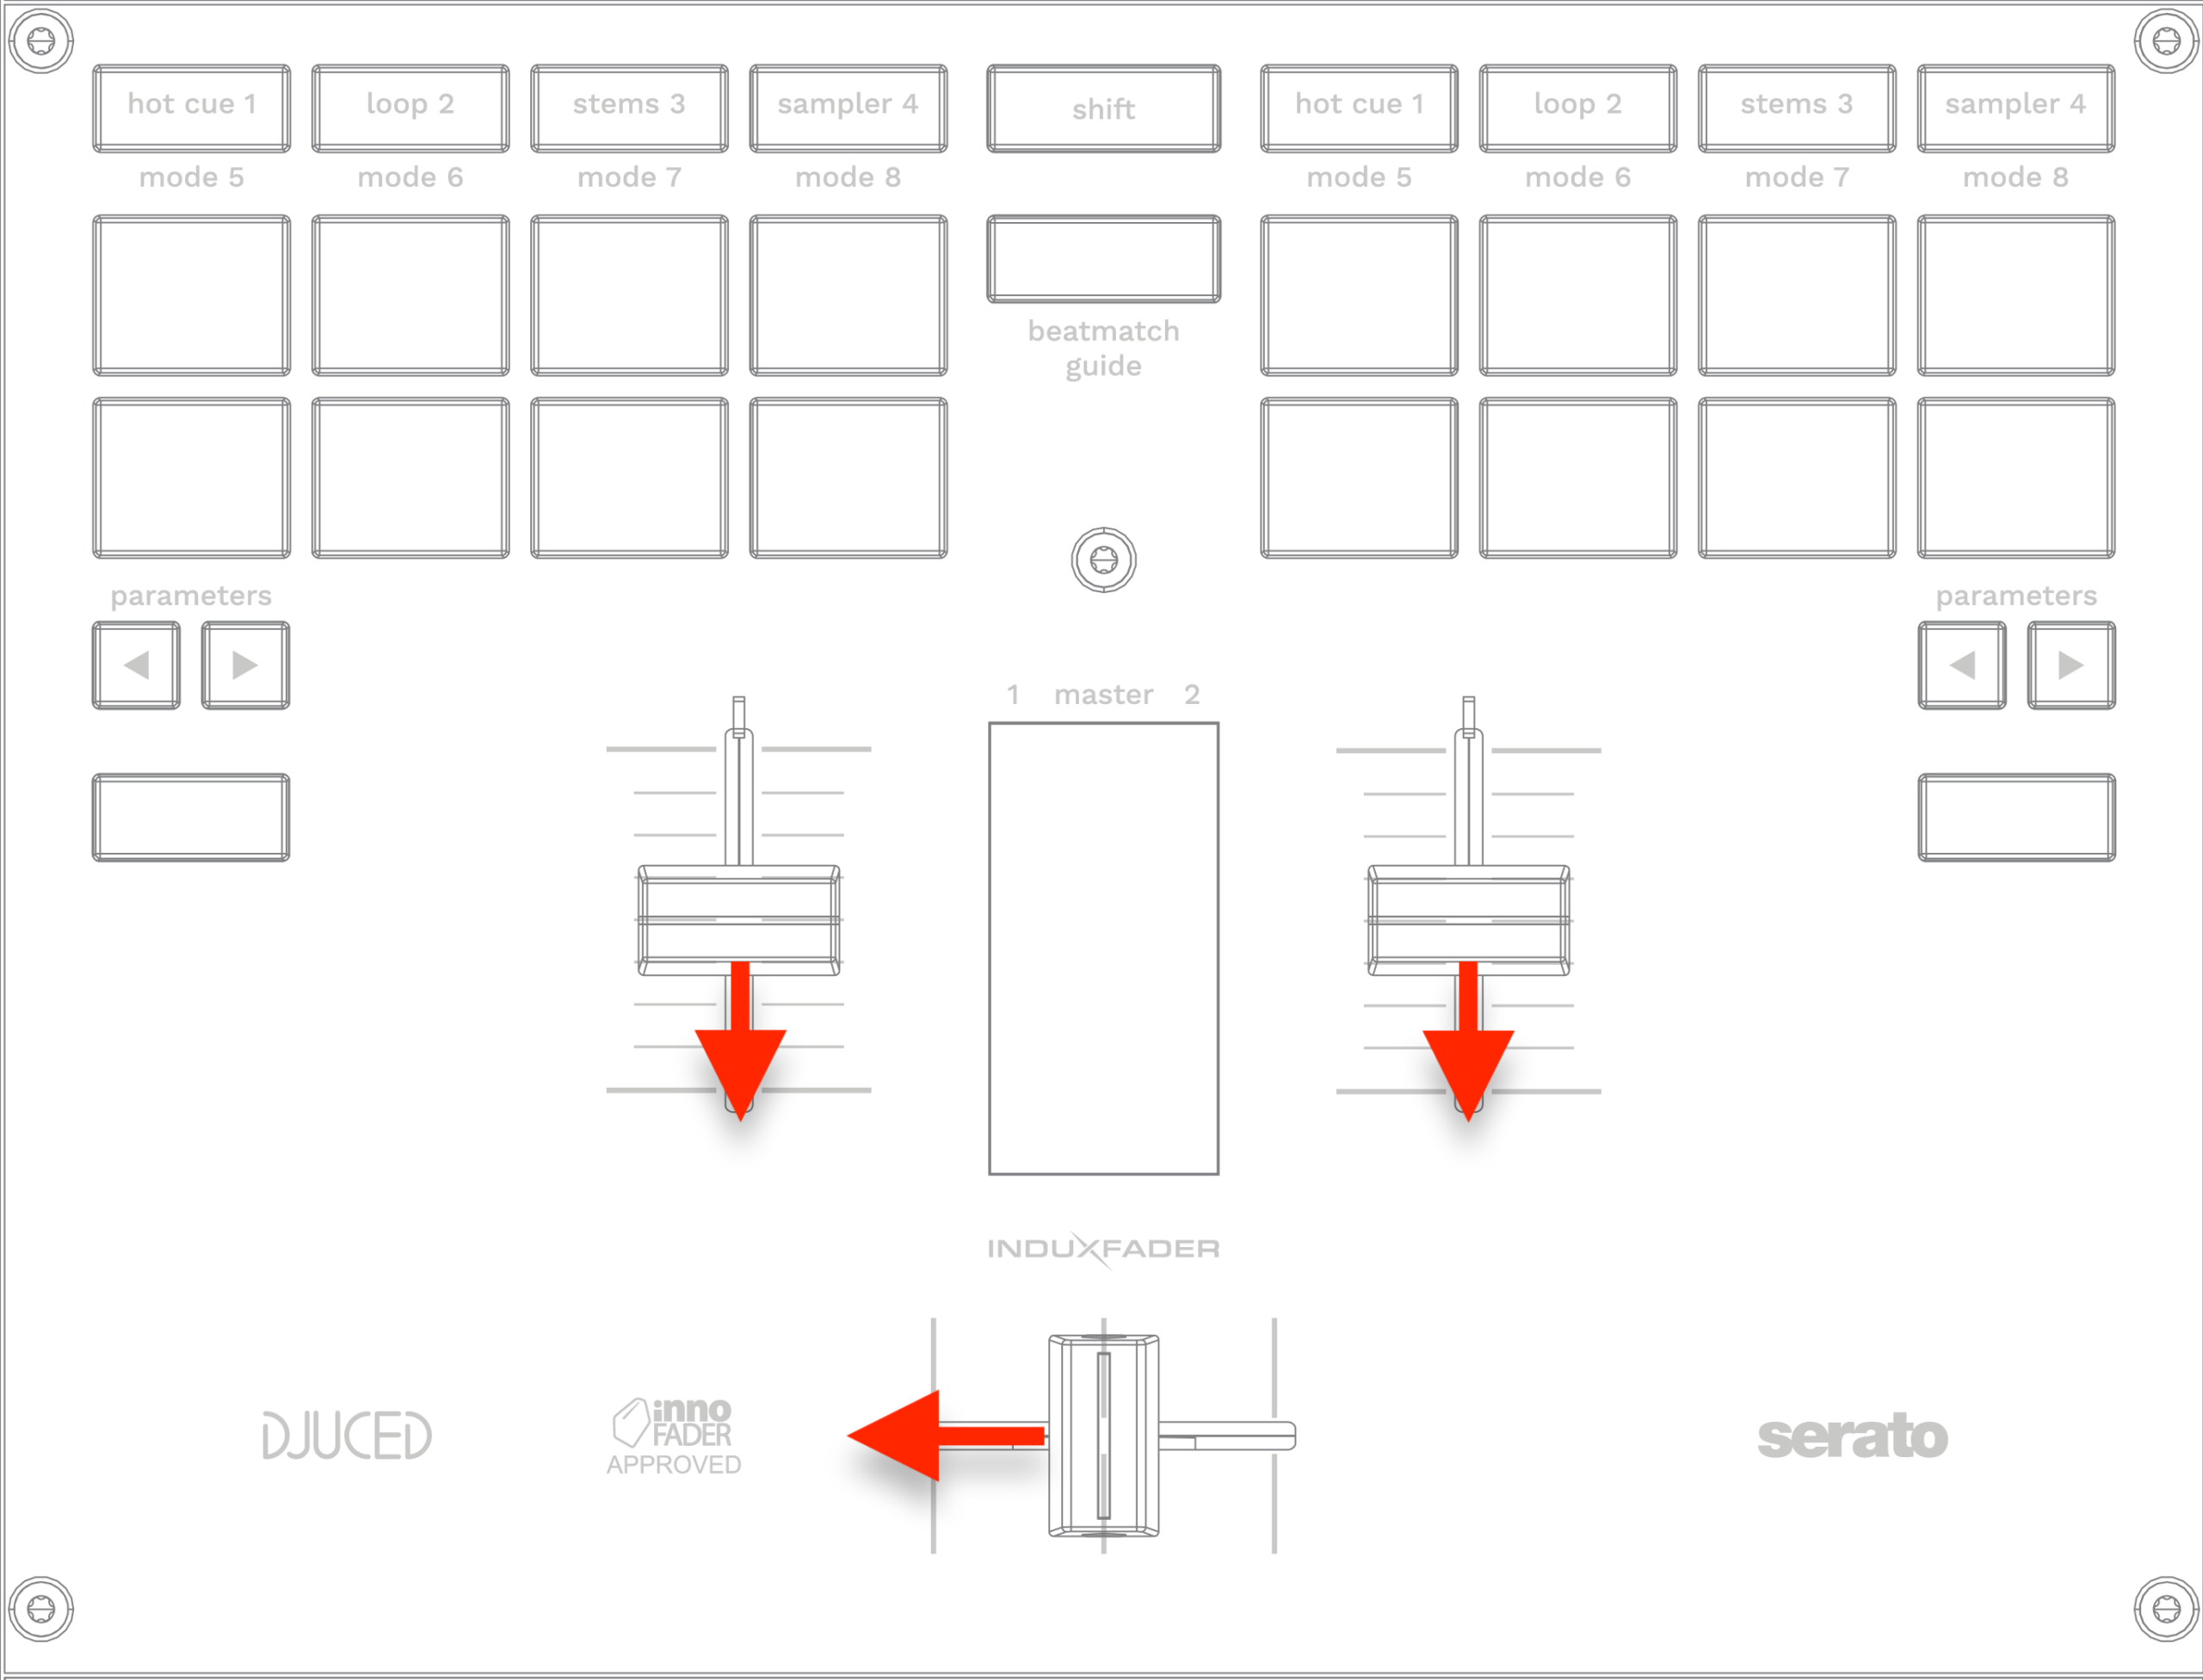
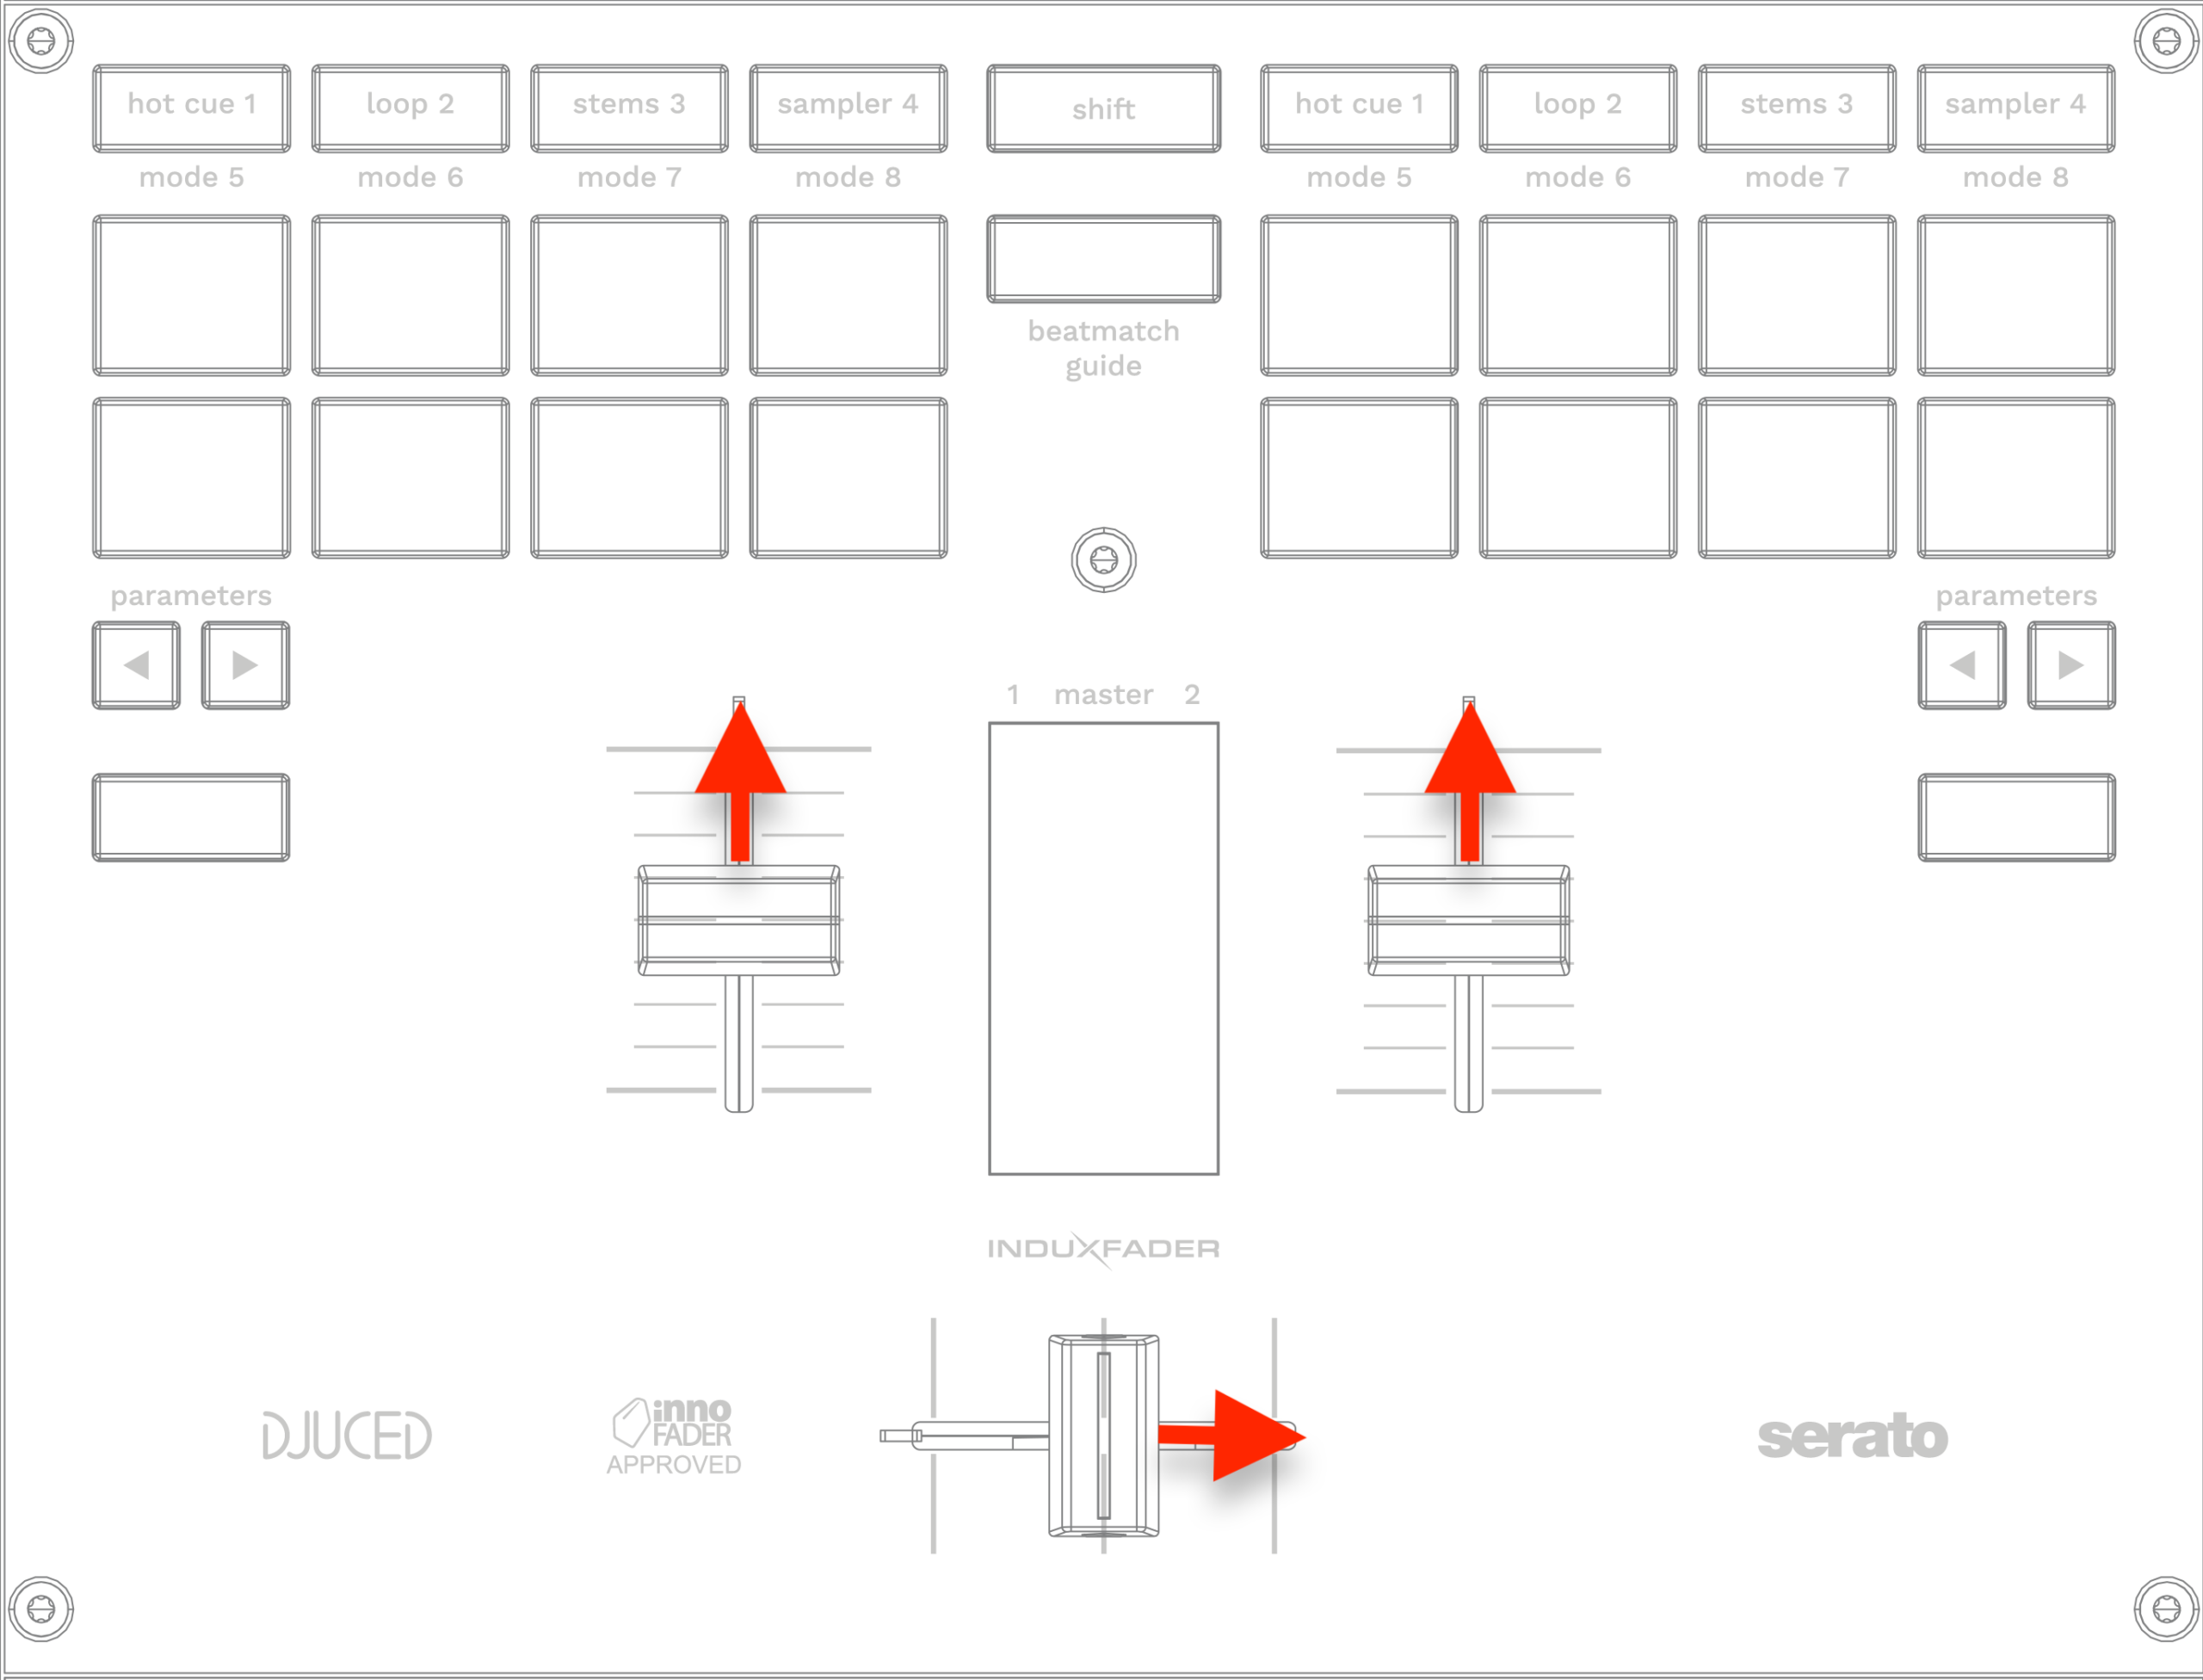
Move the crossfader fully to the left, then fully to the right, reaching both ends without applying force.
Move both volume faders fully down, then fully up, reaching both ends without applying force.
Press the BeatMatch Guide button.
Expected result: All FX buttons light up.
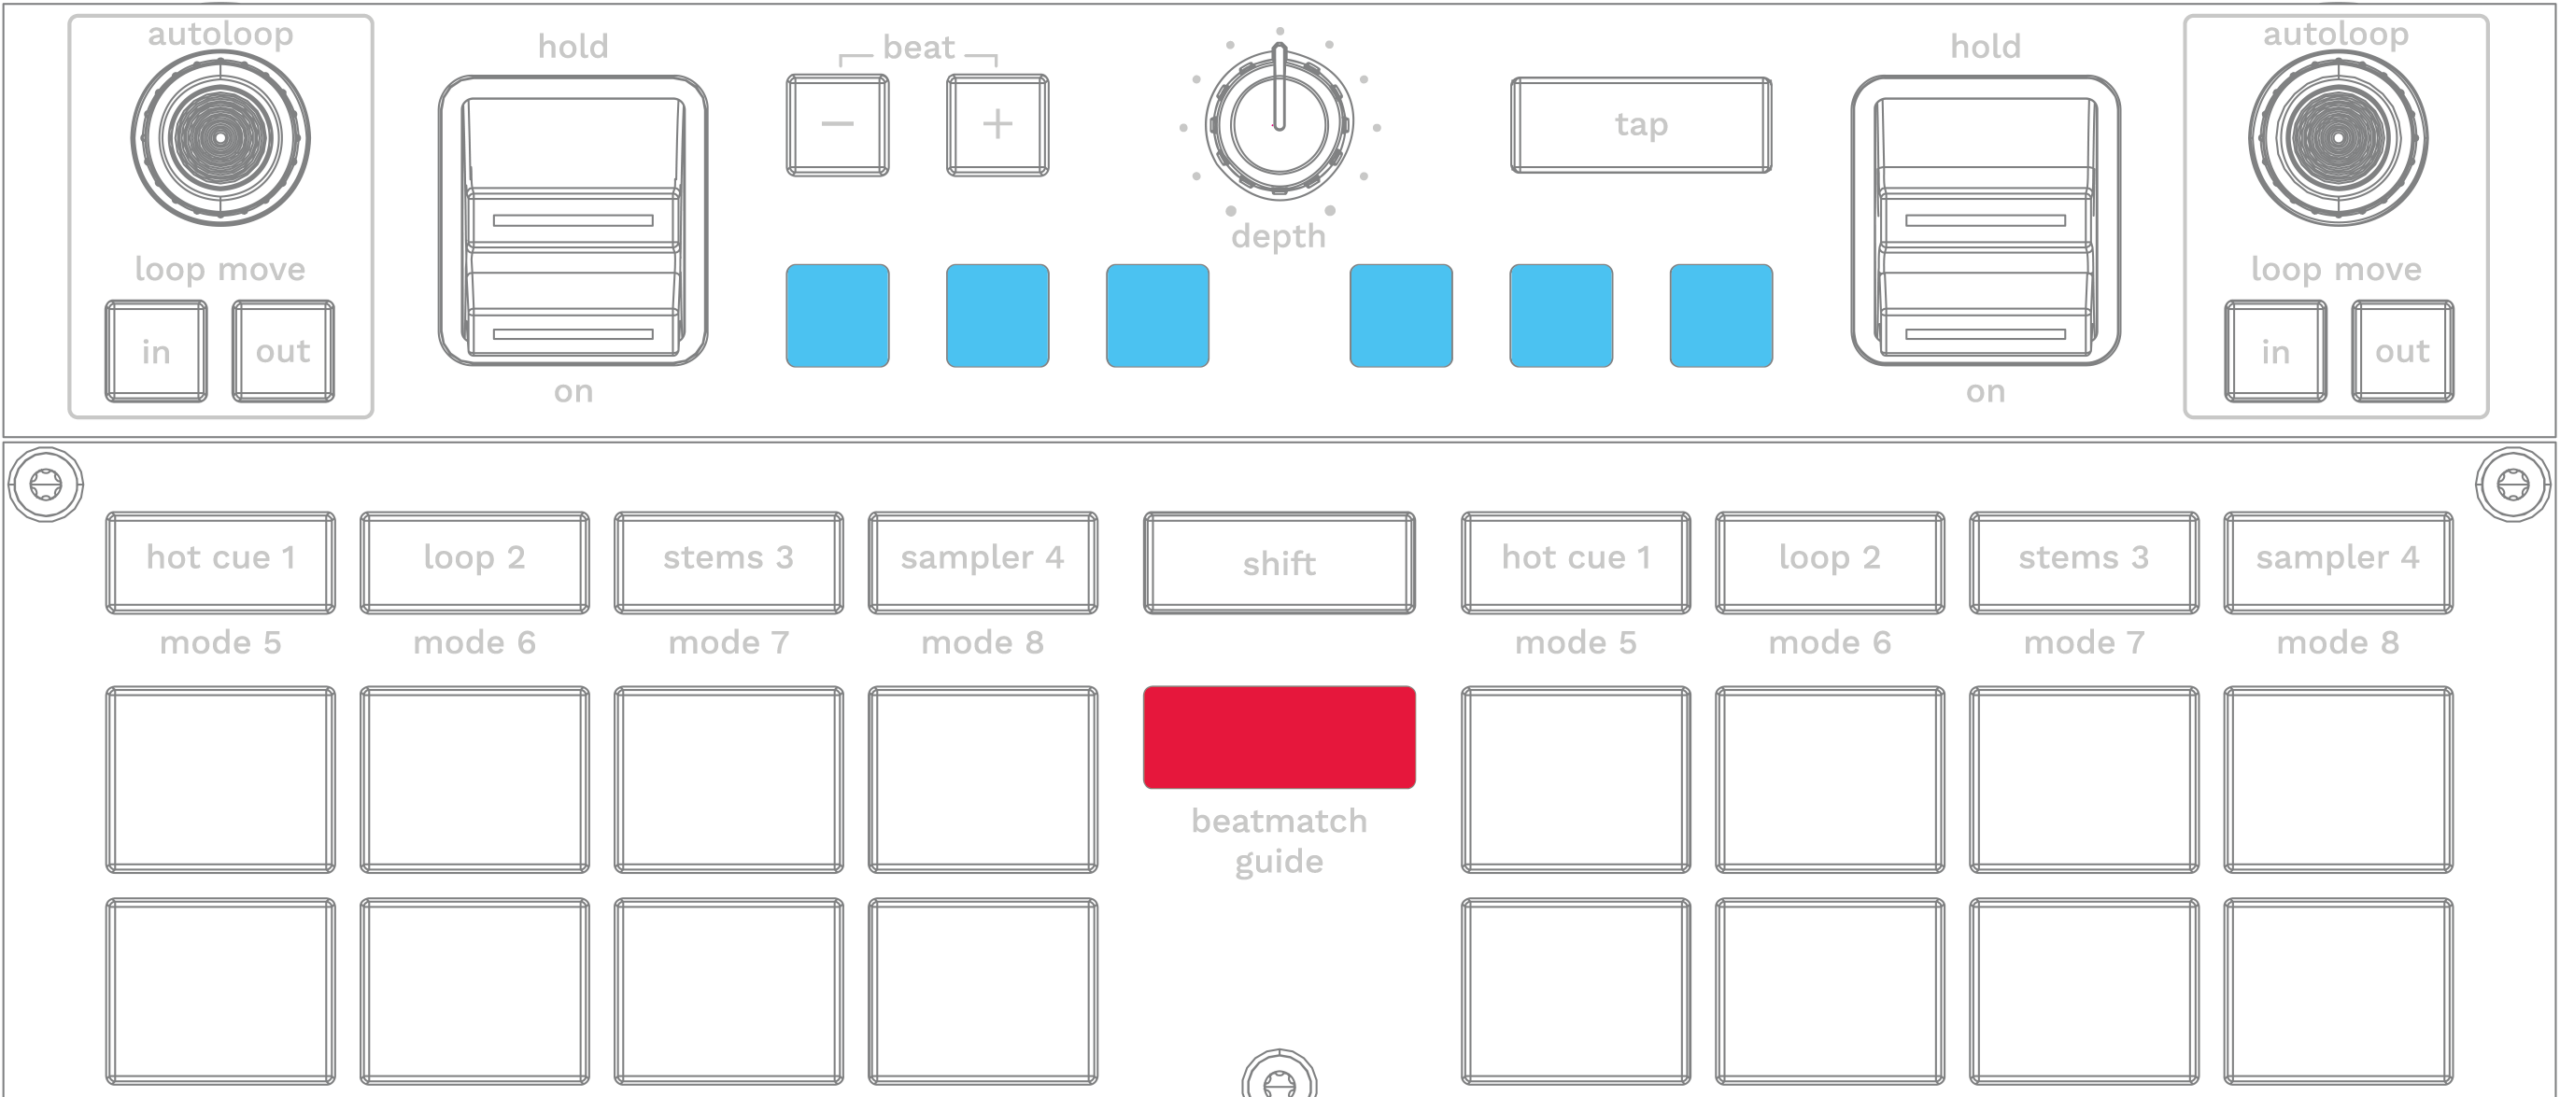
If not: Calibration failed. Restart the procedure from Step 0.
If yes: Calibration completed.
Turn off the DJControl T10 using its ON/OFF switch, then turn it back on.
Calibration is now complete.